
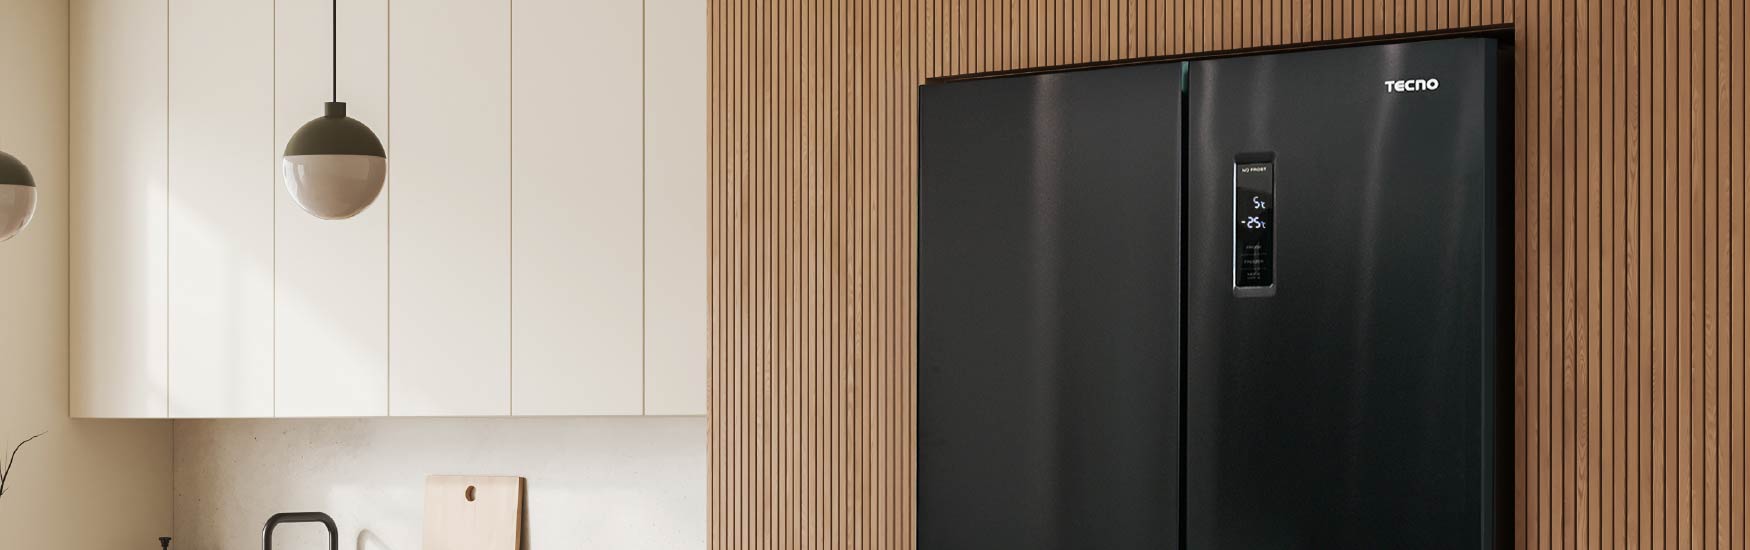
A well-maintained fridge isn’t just about its clean appearance, it’s also about how effective it preserves food’s freshness and prevents unwanted odours. Regular maintenance helps reduce energy use and prevents costly repairs. The benefits of maintaining your fridge simply outweighs the cons, so here’s a comprehensive guide with expert tips from Tecno on maintaining and extending the lifespan of your fridge!
Fridge Organisation: Different Zones for a Reason
Tecno fridges such as TFR-58-4SB and TFR-63-4GB have specific zones to keep different foods fresher for longer, which reduces bad odours from food getting spoiled earlier than expected.
While it might be more convenient to place food at any available space, these zones are designed with different temperatures and humidity levels, so you can get more out of your groceries.
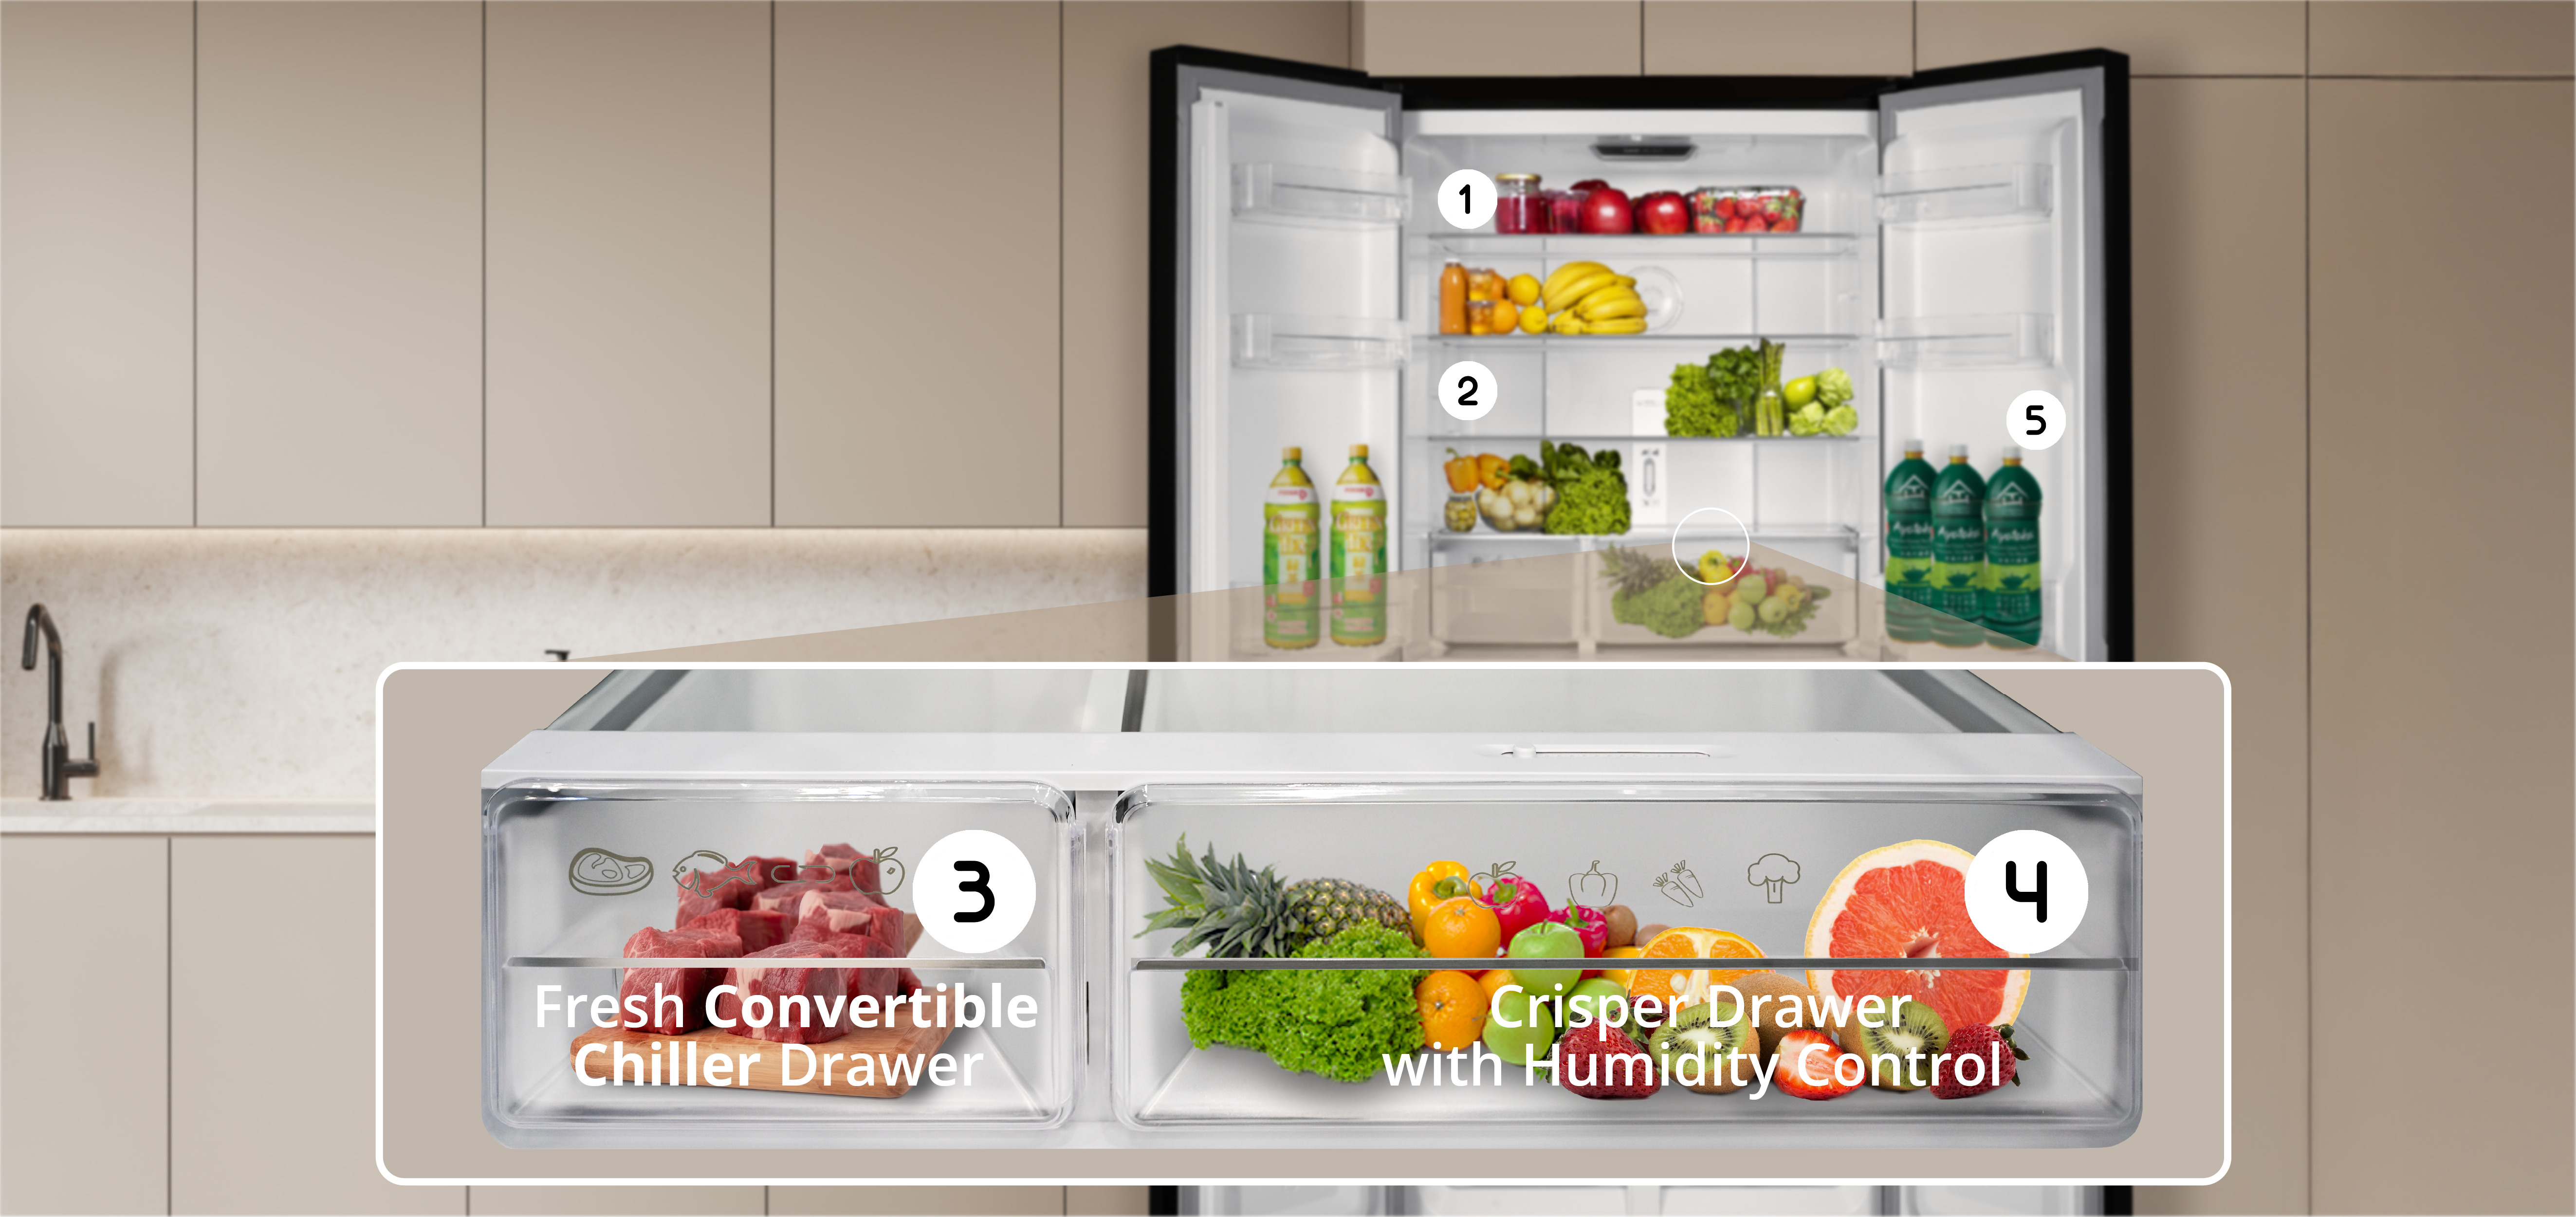
① Top shelf
Best for cooked/leftover foods, ready-to-eat meals, and baked goods.
This part of the fridge stays around 5-8º C, a stable temperature for foods that do not require to be kept extra cold.
② Middle shelf
Ideal for dairy products (eg. butter, cheese, yoghurt, etc.)
③ Fresh Convertible Chiller Drawer (Raw meat, Fish, and Poultry)
This is the coldest zone in your fridge (not including your freezer), making it perfect for raw meat that has a short shelf life. If you don’t have a dedicated fresh food drawer, this is where raw proteins should go. Be sure to store them in sealed containers to prevent cross-contamination.
④ Crisper Drawer with Humidity Control (Vegetable and Fruits)
Vegetables and some fruits require high humidity to retain moisture. The drawer slows moisture loss and keeps produce crispiness longer. It is recommended to keep leafy greens, carrots, and cucumbers in this compartment.
Tip 💡: Avoid pushing items to the back where the produce may accidentally freeze.
⑤ Fridge door shelves
The door is the warmest area due to the constant opening and closing of the fridge. Keep your items with a long shelf life here, such as sauces, jams, and drinks.
Simple steps to deep clean your refrigerator
Start off by making your own DIY cleaning solution using:
- Water
- Baking soda
- Spray bottle to contain our home-made food-safe cleaning agent
Once you have prepared your DIY cleaning solution, you are now ready to deep clean your fridge!
Exterior Care
If you’re planning to only clean the exterior of your fridge, you do not need to unplug your fridge.
Step 1: Spray the cleaning solution outside of the fridge.
Step 2: Use a soft microfiber cloth to wipe it off.
Alternatively, you may clean using wet wipes for a quick wipe.
Tip 💡: Remember to clean the fridge handles!
Interior Care
This is the part where things might get tricky – but fear not, for this guide is made to simplify the cleaning process for you!
To start things off, we recommend you switch off your fridge before cleaning.
To pack your food temporarily, you may:
- Store perishables in a cooler box with ice packs
- Seal any strong-smelling items into airtight containers
This is to prevent your food from going bad or cross contamination.
Step 1: Unplug and Unpack
Turn off your fridge and remove all your food, storing them elsewhere temporarily.
Step 2: Remove shelves and soak
Take off all your removable shelves and drawers and clean it with a wet cloth. If your shelves/drawers are stained and/or require more intense cleaning, soak them in room temperature water and use a soft sponge to clean.
Once completed, rinse and let it air dry while you move onto the next steps.
Tip 💡: Use a soft sponge instead of an abrasive sponge to prevent scratches from appearing.
Step 3: Clean the insides
Wipe down the interiors with our cleaning solution and a microfiber cloth. You may want to use another cloth in case any liquid drips down.
Step 4: Clean the door seals and edges
Using wet wipes, wipe down the door seals. Ensure it dries thoroughly to maintain the fridge’s insulation and to ensure energy will be saved.
Step 5: Reload your fridge
Ensure your fridge is completely dry before placing your foods back accordingly.
You should take this time to check for expired items and discard anything that has gone bad.
Causes of odours in your fridge
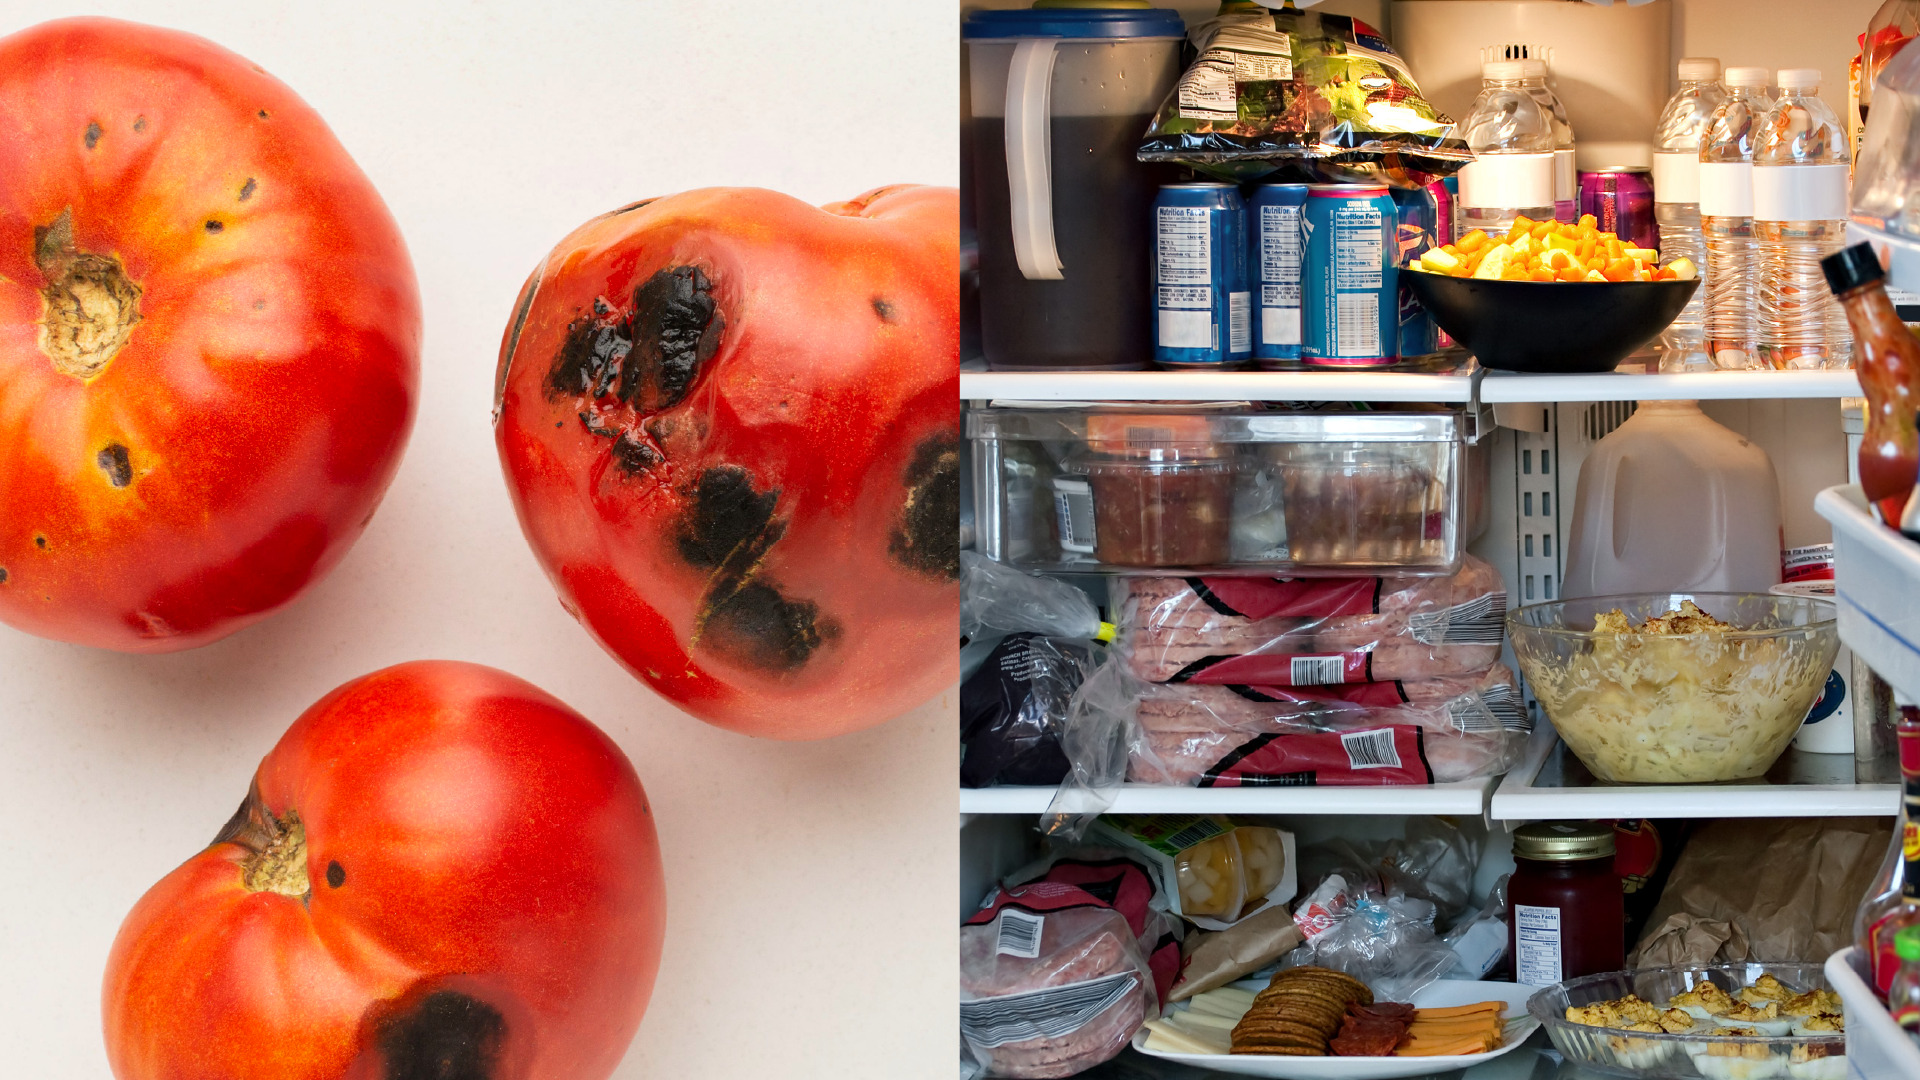
Fridge odours often stem from a few common culprits, where cleaning alone is not enough to get rid of the smell.
Rotten and expired food
Rotten and expired food is the most common reason for refrigerator odours, as the stench can quickly spread through your fridge. A weekly inspection on your food should be enough to catch potential spoilage early and prevent odors from developing.
Neglected hidden areas
Areas such as the crevices and door seals are often ignored during a quick wipe. Mold may grow in those areas, becoming a source of odours even if the shelves look clean.
Crowded fridge or poor airflow
Overpacking your fridge blocks cold air from circulating properly, creating uneven temperatures that can cause food to spoil faster. Leave a little space between items to improve airflow and help keep your fridge fresher and odor-free!
Natural ways to get rid of the smell in your fridge
There are fridges, like the Tecno TFR-58-4SB and TFR-63-4GB 4-door Refrigerators, that come with a built-in anti-bacteria and deodorization module which are generally effective at keeping smells at bay. However, there might still be some unwanted smells that linger in your fridge, especially if you’ve accidentally left some food in there for way too long. Here are some natural deodorising methods that can help with further reducing unwanted smells:

- Sliced lemon or lemon juice
Lemon uses its citric acid to break down basic smells like fish or old food to leave a fresh, clean scent behind. Place half a lemon or lemon juice in the middle shelf for up to a week to absorb foul odours.
- Coffee grounds
Coffee grounds contain nitrogen that traps and blocks sulfur smells. Spoiled high-protein foods and trapped sulfur gases from vegetables, or bacterial buildup in the drain pan or water/ice filter can cause unwanted sulfur smells. They also smell strong enough to cover up other unwanted odors.
- Used teabags
Tannins in tea leaves help stop odor-causing bacteria. Place cooled down teabags in a small bowl, and set it in the fridge to help with odours. It is recommended to change out the teabags once every 3 weeks.
- Baking soda
Baking soda acts as a base chemical that changes both sour acids and stinky bases into neutral, odorless salts. Place the baking soda box on the middle shelf, or pour loose powder into a small, shallow dish for it to be exposed to more surface area. It is recommended to change it every 1 to 3 months.
- Activated charcoal
Activated charcoal is highly porous and its pure carbon structure traps odour molecules effectively. Place the container on a middle shelf or near the air vent where air moves freely, but away from direct contact with food.
Tip 💡: Only use one method at a time, as too many can cause an unpleasant combination. Remember to change your natural deodorants often!
Common refrigerator maintenance mistakes
- Placing hot food directly in the fridge
Placing hot food directly causes the surrounding temperature to increase between 4ºC to 60ºC, which may be a breeding ground for bacteria to grow fast.
The fridge’s compressor has to work overtime to lower the temperature, which can cause easier wear and tear in your fridge.
- Ignoring strange noises
Unusual buzzing or rattling sounds may indicate a loose part or a faulty fan. Addressing these issues early can help prevent more serious and costly repairs.
- Blocking air vents
Avoid placing food directly in front of the air vents. Blocked vents restrict cold air circulation, leading to uneven cooling, spoiled food, and extra strain on the refrigerator.
- Cleaning the interior without unplugging
Before deep cleaning, swift off and unplug your refrigerator. Leaving the door open while it’s running forces the fridge to work harder to maintain its temperature, increasing energy consumption and unnecessary wear on its components.
Space Requirements for your fridge
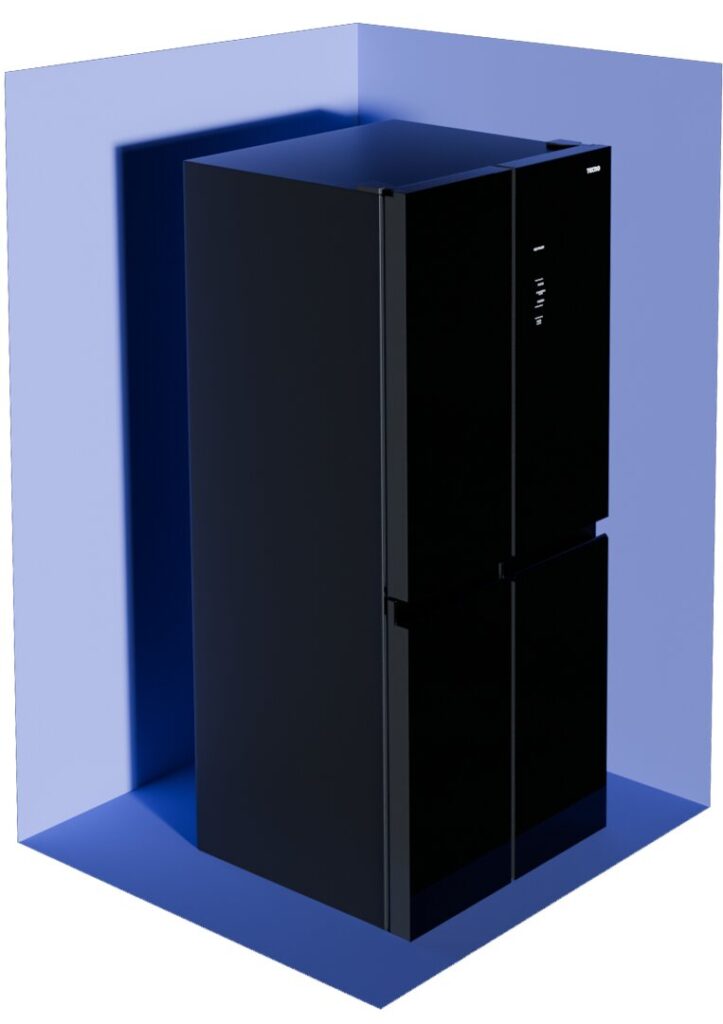
Proper installation of your fridge can help ensure your cleaning goes smoothly too. Here are some things to take note while installing your fridge:
- Make sure your fridge isn’t under direct sunlight exposure – heat from the sunlight makes the compressor work harder, which means not only does your electricity bills go up, the life span of your fridge might go down.
- Ensure sufficient space for the fridge doors to open easily and completely – this will ensure that your shelves can be properly removed from your fridge when you start your deep clean.
- Levelled flooring is crucial – a levelled fridge allows the compressor to work efficiently, doors seal and close tightly, and defrost water to drain correctly. Without proper leveling, the fridge can wobble, make loud noises, leak water, or lose cold air, which spoils food and raises your electricity bill.
- Leave sufficient space around the right, left, back and top of your fridge when installing – helps air flow freely, which keeps the motor cool and stops parts from overheating. With the compressor not overworking, this ensures that your energy consumption remains low.
These tips, alongside careful daily maintenance, helps to ensure that your fridge can be as energy efficient, and long lasting as possible.